記事のタイトルを画像化しよう
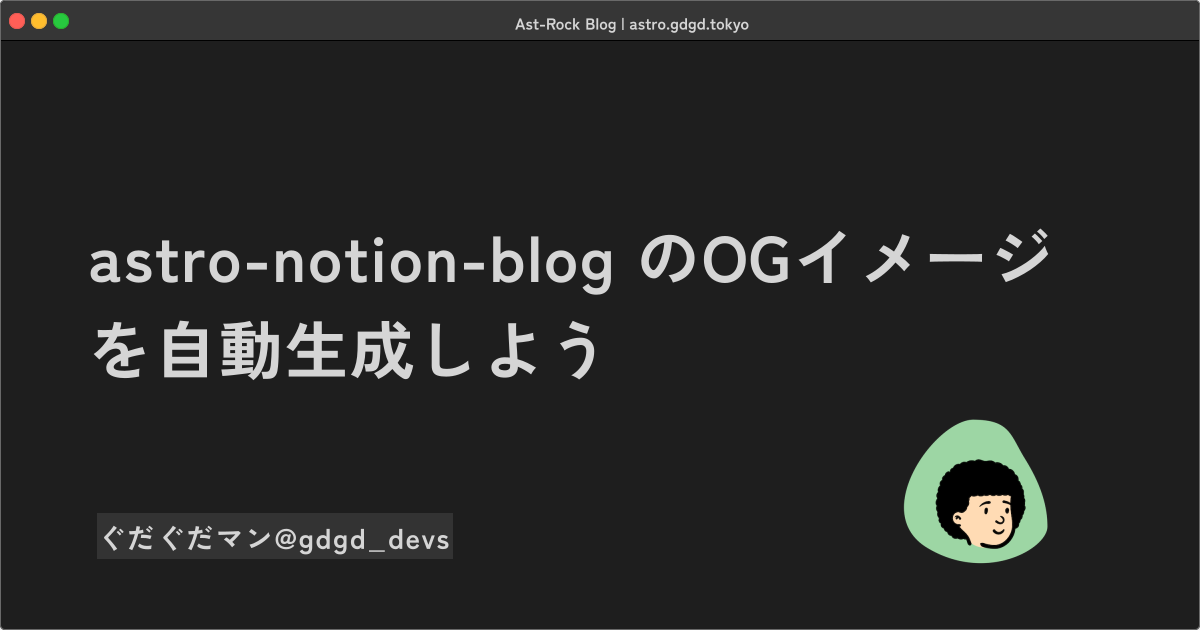
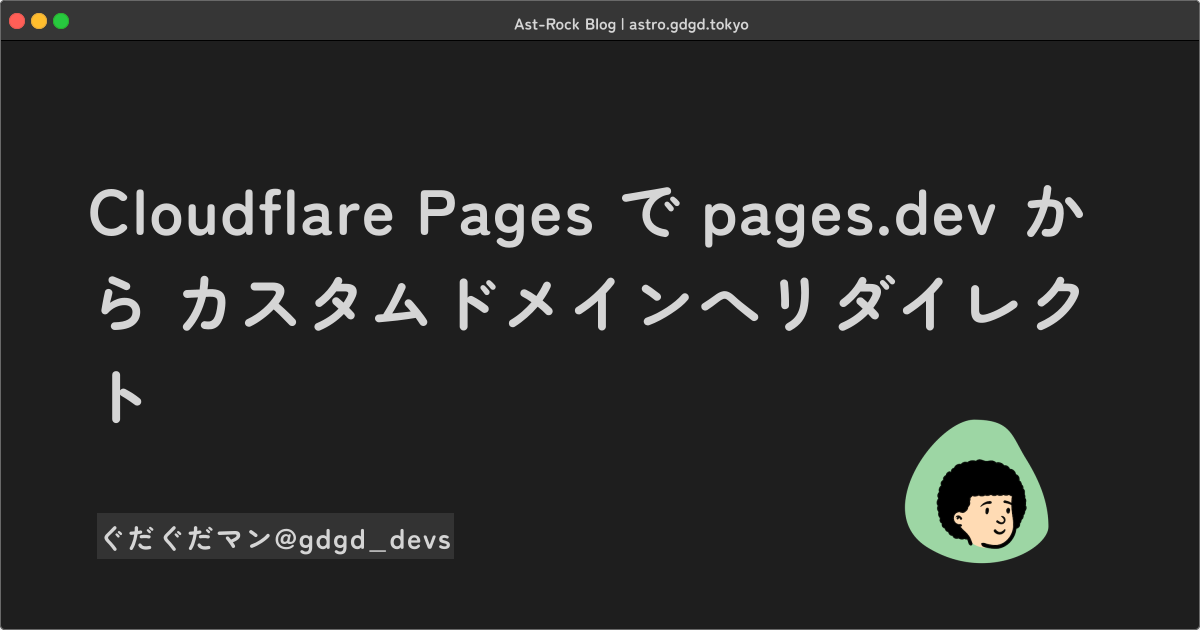
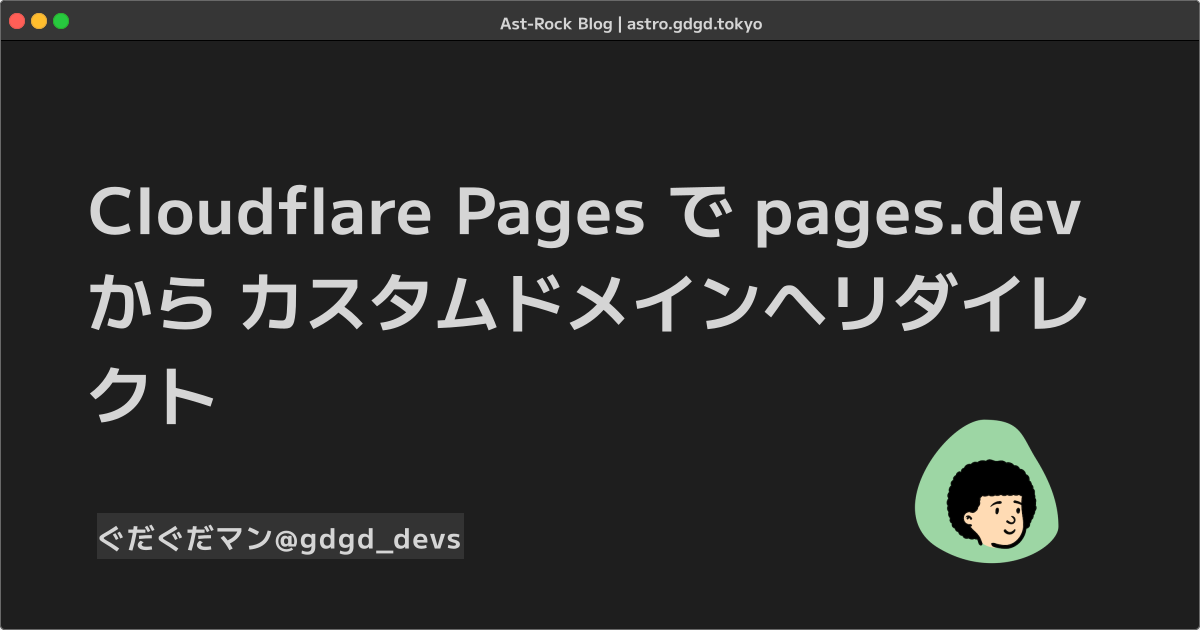
OGPとは以下のような画像のことです。

ブログの記事にOG画像を設定することで、XなどのSNSにURLを貼ると画像付きでシェアすることができるようになります。
この記事では astro-notion-blog で記事のタイトルからOG画像を自動的に作る方法を紹介します。
easy-notion-blog ではサポートされていたのですが、astro-notion-blogでも自動生成OGを使うことができます。
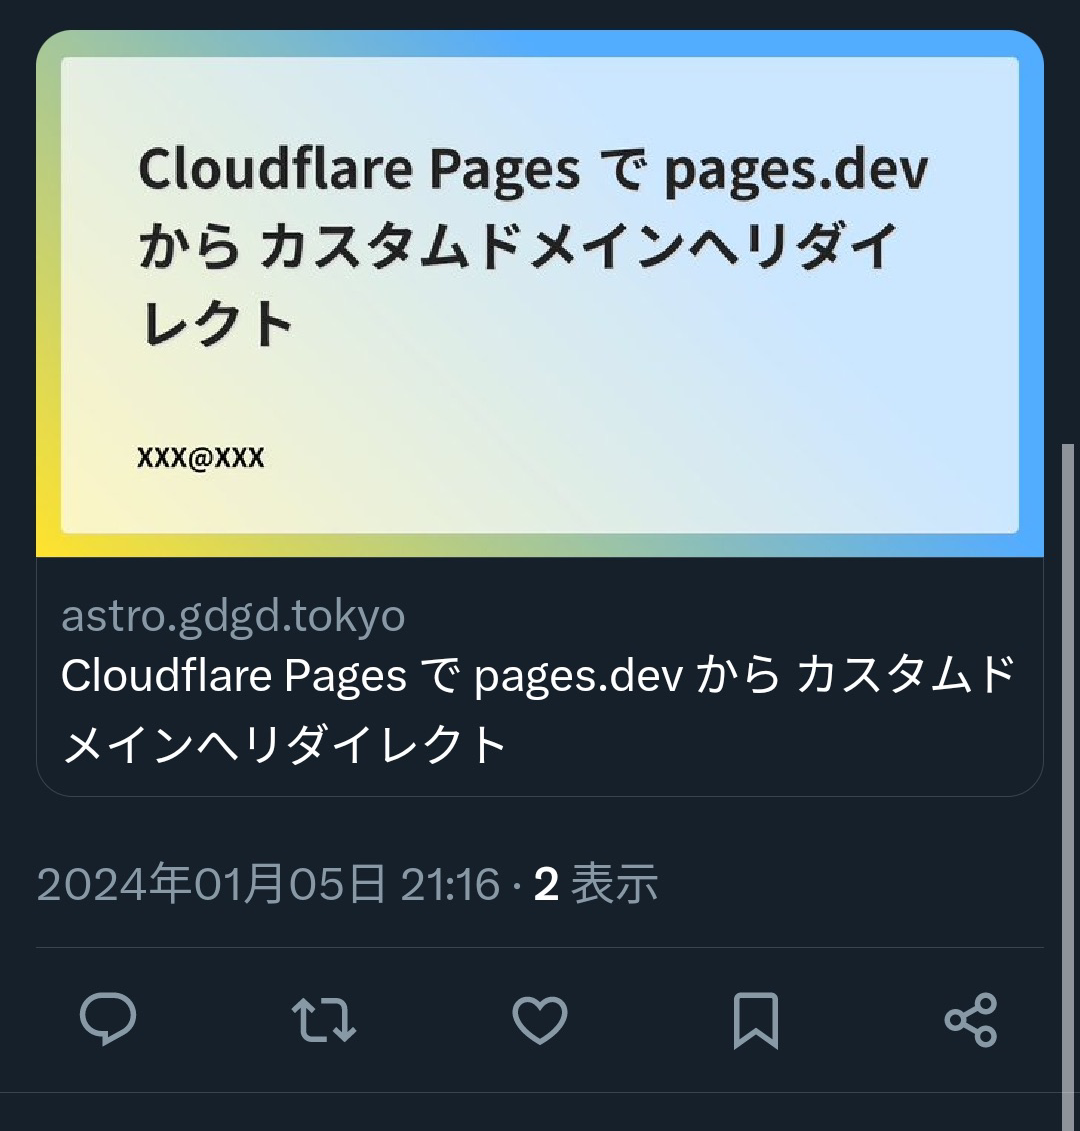
Xでシェアした場合の表示
この記事の実際のOG画像
インストール
npm install satori sharp
npm install -D @types/sharp
npx astro add react

npm install astro-seo
変更するファイル
- src/components/OgImage.tsx 新規作成
- src/pages/og/[slug].png.ts 新規作成
- src/layouts/layout.astro
- src/pages/posts/[slug].astro
OgImage.tsx
新規作成src/components/OgImage.tsx
import satori from 'satori';
import sharp from 'sharp';

// サイト名
const site = 'XXX';
const url = 'XXX';

// ユーザー
const user = 'XXX';
const x = '@XXX';

export async function getOgImage(title: string) {
  const fontData = (await getFontData()) as ArrayBuffer;
  const svg = await satori(
    <div
      style={{
        width: '1200px',
        height: '630px',
        backgroundColor: '#52ACFF',
        backgroundImage: 'linear-gradient(225deg, #52ACFF 34%, #FFE32C 100%)',
        display: 'flex',
        flexWrap: 'nowrap',
        justifyContent: 'center',
        alignItems: 'center',
      }}
    >
      <div
        style={{
          display: 'flex',
          width: '1140px',
          height: '567px',
          background: 'rgba(255,255,255,0.7)',
          borderRadius: '8px',
          flexWrap: 'wrap',
          justifyContent: 'center',
        }}
      >
        <div
          style={{
            width: '960px',
            height: '80%',
            fontSize: '64px',
            color: '#222',
            textShadow: '2px 2px 3px #d5d5d5',
            alignItems: 'center',
          }}
        >
          {title}
        </div>
        <div
          style={{
            display: 'flex',
            width: '960px',
            paddingBottom: '4px',
            height: '40px',
            fontSize: '2rem',
          }}
        >
          {user + x}
        </div>
        <div
          style={{
            flexBasis: '54%',
            marginRight: '5.5rem',
            display: 'flex',
          }}
        ></div>
      </div>
    </div>,
    {
      width: 1200,
      height: 630,
      fonts: [
        {
          name: 'Noto Sans JP',
          data: fontData,
          style: 'normal',
        },
      ],
    }
  );

  return await sharp(Buffer.from(svg)).png().toBuffer();
}

async function getFontData() {
  const API = `https://fonts.googleapis.com/css2?family=Noto+Sans+JP:wght@700`;

  const css = await (
    await fetch(API, {
      headers: {
        // Make sure it returns TTF.
        'User-Agent':
          'Mozilla/5.0 (Macintosh; U; Intel Mac OS X 10_6_8; de-at) AppleWebKit/533.21.1 (KHTML, like Gecko) Version/5.0.5 Safari/533.21.1',
      },
    })
  ).text();

  const resource = css.match(
    /src: url\((.+)\) format\('(opentype|truetype)'\)/
  );

  if (!resource) return;

  return await fetch(resource[1]).then((res) => res.arrayBuffer());
}
コードをカスタムして好きなようにレイアウトを変更できます。
サイト名、サイトURLなど表示させたい場合は任意の場所に{site}、{url}などを設定して挿入してみてください。
slug.png.ts

新規作成src/pages/og/[slug].png.ts
import type { APIContext } from 'astro';
import { getOgImage } from '../../components/OgImage';
import { getAllPosts, getPostBySlug } from '../../lib/notion/client';

export async function getStaticPaths() {
  const posts = await getAllPosts();
  return posts.map((post) => ({
    params: { slug: post.Slug },
  }));
}

export async function get({ params }: APIContext) {
  if (params.slug === undefined) return;
  const post = await getPostBySlug(params.slug);
  const body = await getOgImage(post?.Title ?? 'No title');

  return { body, encoding: 'binary' };
}
layout.astro
src/layouts/layout.astro
</head> 部分まで 置き換え
---
import { SEO } from 'astro-seo';
import { PUBLIC_GA_TRACKING_ID, ENABLE_LIGHTBOX } from '../server-constants.ts'
import { getDatabase } from '../lib/notion/client.ts'
import { getNavLink, getStaticFilePath, filePath } from '../lib/blog-helpers.ts'
import '../styles/syntax-coloring.css'
import GoogleAnalytics from '../components/GoogleAnalytics.astro'
import SearchModal from '../components/SearchModal.astro'
import SearchButton from '../components/SearchButton.astro'

export interface Props {
  title: string
  description: string
  path: string
  ogImage: string
	openGraph: OpenGraph
}

export type OpenGraph = {
  basic: {
    title: string;
    type: 'article' | 'website';
    image: string;
  };
  image: {
    alt: string;
  };
};

const database = await getDatabase()

const {
  title = '',
  description = '',
  path = '/',
  ogImage = '',
  openGraph,
} = Astro.props;

const siteTitle = title ? `${title} - ${database.Title}` : database.Title
const siteDescription = description ? description : database.Description
const siteURL = new URL(getNavLink(path), Astro.site).toString()
const siteOGImage = new URL(
  getStaticFilePath('/default-og-image.png'),
  Astro.site
)

let coverImageURL: string
if (database.Cover) {
  if (database.Cover.Type === 'external') {
    coverImageURL = database.Cover.Url
  } else if (database.Cover.Type === 'file') {
    try {
      coverImageURL = filePath(new URL(database.Cover.Url))
    } catch (err) {
      console.log('Invalid DB cover image URL')
    }
  }
}

let customIconURL: string
if (database.Icon && database.Icon.Type === 'file') {
  try {
    customIconURL = filePath(new URL(database.Icon.Url))
  } catch (err) {
    console.log('Invalid DB custom icon URL')
  }
}
---

<!DOCTYPE html>
<html lang="en" prefix="og: https://ogp.me/ns#">
  <head>
    <meta name="viewport" content="width=device-width, initial-scale=1.0" />
    <meta name="robots" content="max-image-preview:large" />
    <meta charset="UTF-8" />
    <meta name="generator" content={Astro.generator} />
    <SEO
      charset="UTF-8"
      title={siteTitle}
      description={siteDescription}
      openGraph={openGraph || {
        basic: {
          title: `${siteTitle}`,
          type: "website",
          image: `${siteOGImage}`,
        }
      }}
      twitter={{
        card: 'summary_large_image',
      }}
    />
    <link
      rel="stylesheet"
      href="https://cdn.jsdelivr.net/npm/[email protected]/dist/katex.min.css"
      integrity="sha384-vKruj+a13U8yHIkAyGgK1J3ArTLzrFGBbBc0tDp4ad/EyewESeXE/Iv67Aj8gKZ0"
      crossorigin="anonymous"
    />
  </head>
slug.astro
src/pages/posts/[slug].astro
<Layout>を 置き換え
<Layout
  title={post.Title}
  description={post.Excerpt}
  path={getPostLink(post.Slug)}
  ogImage={ogImage}
  openGraph={{
    basic: {
      title: post.Title,
      type: 'article',
      image: new URL(`/og/${post.Slug}.png`, Astro.url.origin).toString(),
    },
    image: { alt: post.Title },
  }}
>
記事内にOG画像を表示
記事の中にもOG画像を表示したい場合は以下のコードを挿入する
src/pages/posts/[slug].astro
任意の箇所に追加
<img
	src={'/og/' + `${post.Slug}` + '.png'}
	width="1200"
	height="630"
	alt="ogImage"
	loading="lazy"
	class="ogImage"
/>
一番下に追加 (幅いっぱいに表示する)
<style>
.ogImage {
max-width: 100%;
height: fit-content;
}
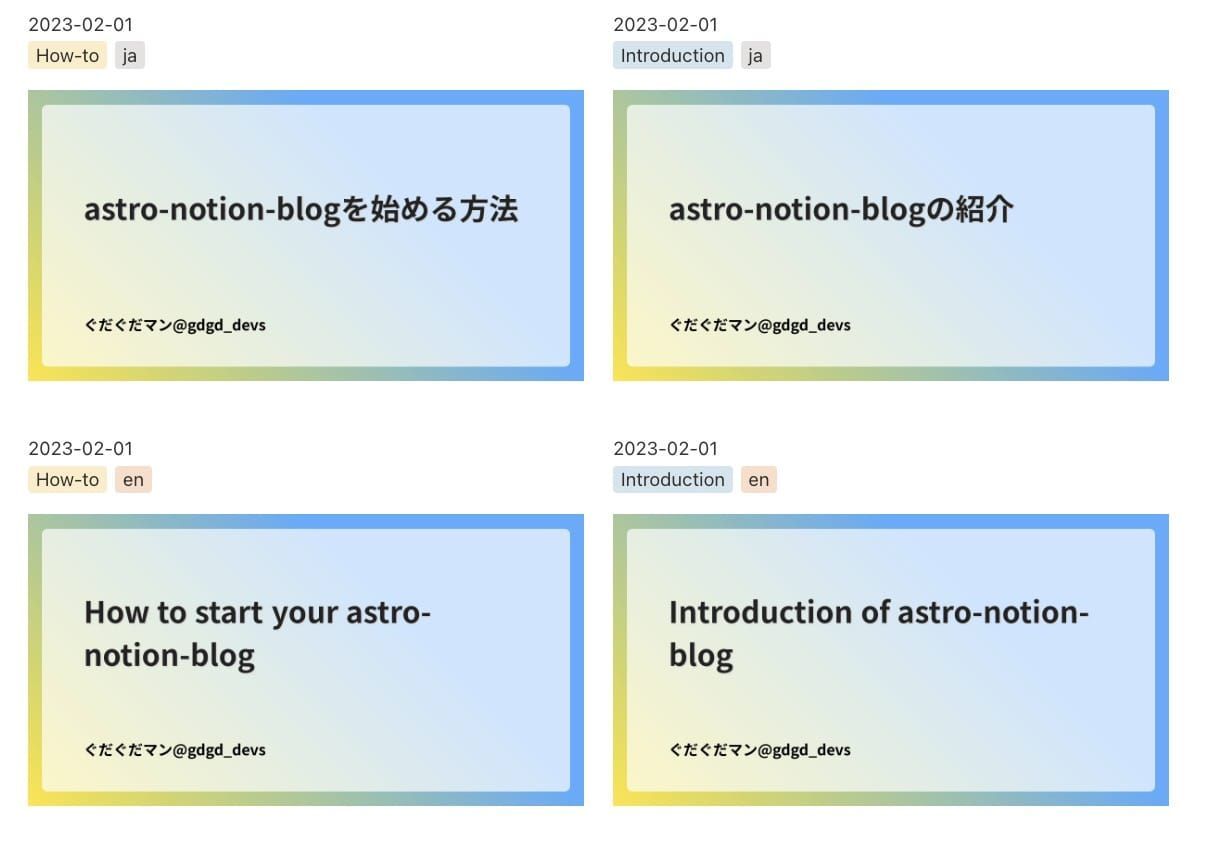
</style>記事一覧にOG画像を表示
トップページや、タグページの記事リストにサムネイルとして表示
src/pages/posts/index.astro など
<img> を挿入
posts.length === 0 ? (
  <NoContents contents={posts} />
) : (
  posts.map((post) => (
    <div class={styles.post} key={post.Slug}>
      <PostDate post={post} />
      <PostTags post={post} />
      <PostTitle post={post} />
      <img
        src={'/og/' + `${post.Slug}` + '.png'}
        width="1200"
        height="630"
        alt="ogImage"
        loading="lazy"
        class="ogImage"
      />
      <PostExcerpt post={post} />
      <ReadMoreLink post={post} />
    </div>
  ))
)
最後に挿入
<style>
.ogImage {
  max-width: 100%;
  height: fit-content;
}
</style>
スタイルを整えてこんな感じの表示にすることもできます
Satori の使い方
レイアウトやフォント変更など
ランダム画像
lorempicsum の画像を挿入
<img src="<https://picsum.photos/200/300>" width={200} height={300} />PNG を変換
PNGアイコンなどを挿入したい場合はbase64に変換すると少し早く処理できる
pngはbase64に変換する
https://web-toolbox.dev/tools/base64-encode-image
DataURLについて
https://zenn.dev/goahi/articles/daf5ebefd13545
<img src="data:image/png;base64,..." width={200} height={200} />ずれる場合はtransformで移動させる
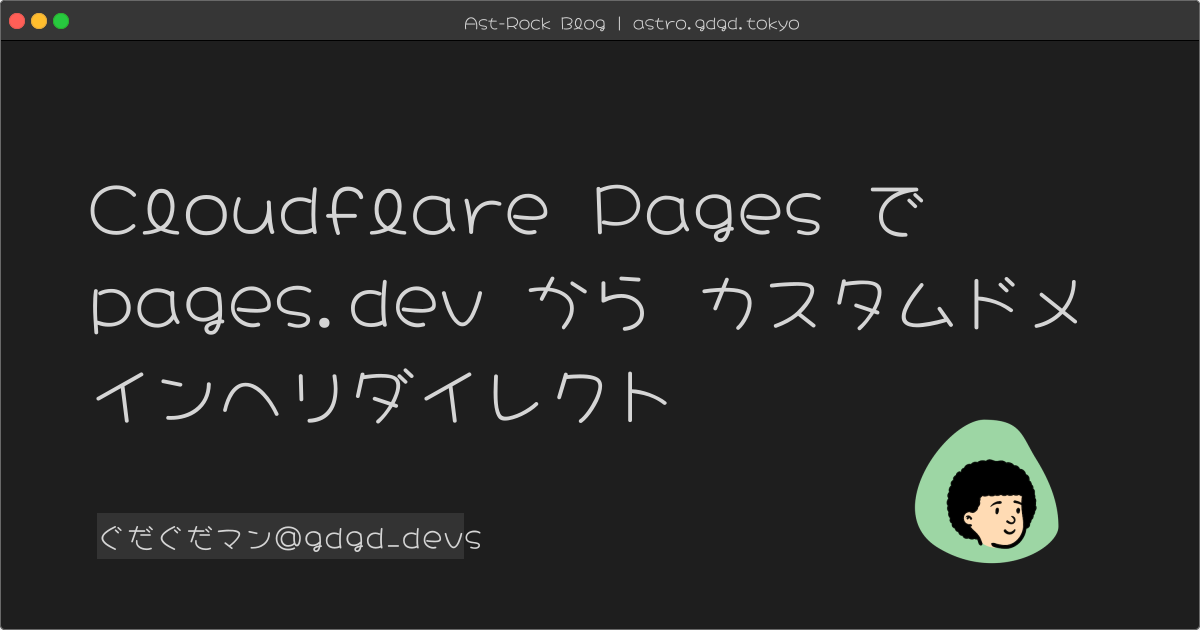
transform: 'translate(-60px,-100px)',フォントを変更
src/components/OgImage.tsx
Zen Kaku Gothic New
const API = `https://fonts.googleapis.com/css2?family=Zen+Kaku+Gothic+New:wght@700`;fonts: [
{
name: 'Zen Kaku Gothic New',
data: fontData,
style: 'normal',
},
],サイトの雰囲気に合わせてフォントを変えてみましょう
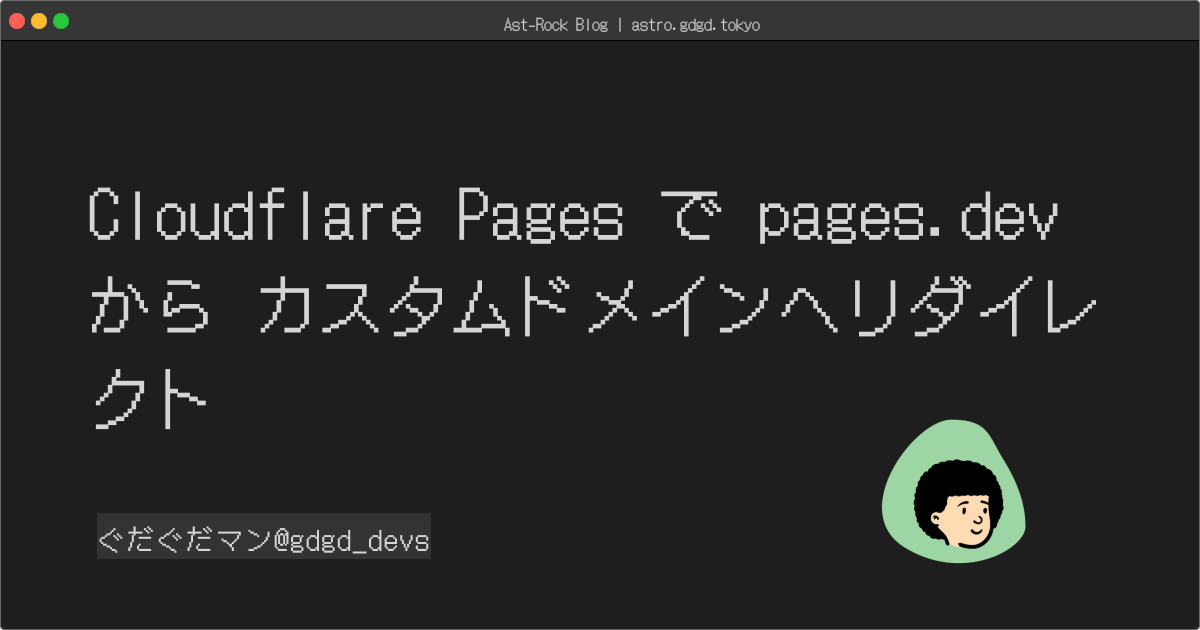
自分で用意したフォントを使う場合
src/components/OgImage.tsx
import fs from 'fs';publicディレクトリ(任意)にフォントを入れる
- const fontData = (await getFontData()) as ArrayBuffer;
+ const fontData = fs.readFileSync('./public/XXX.ttf');
表示確認用デモ
以下でデザインを確認しながら作業できます
コンテナサイズ (1.9:1)
- 横: 1200
- 縦: 630
参考になるサイト
Astroでsatoriを使ったOG画像の自動生成を実装する | Blog
https://blog.70-10.net/posts/satori-og-image/
satori 使い方
https://github.com/vercel/satori
Satori + SvelteKit で OGP 画像を自動生成する