
Cloudflare Pages で作ったページをパスワード認証する方法を紹介します。
一時的にページを見せたくない場合や、自分だけ見るページなどに使えると思います。
Cloudflare Access Policy を設定してメールアドレス認証することができますが、単にパスワード認証をしたい場合は、以下の方法を使うことでかんたんに導入できました。
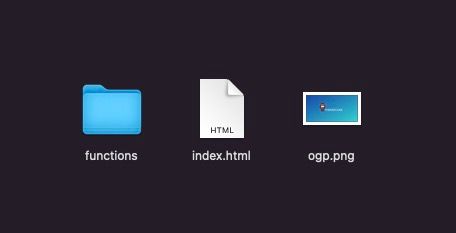
functionsディレクトリのみプロジェクトのディレクトリに入れて丸ごとGithubへプッシュしましょう。
デプロイ設定
デプロイする前の設定で環境変数を追加する
Cloudflare Pages でプロジェクトを作成し、Githubのリポジトリを選ぶ。
次のステップの デプロイ設定の下の方に
Environment variables (advanced) があるのでクリックで展開して
Variable name に CFP_PASSWORD
Value に 任意のパスワードを入れる
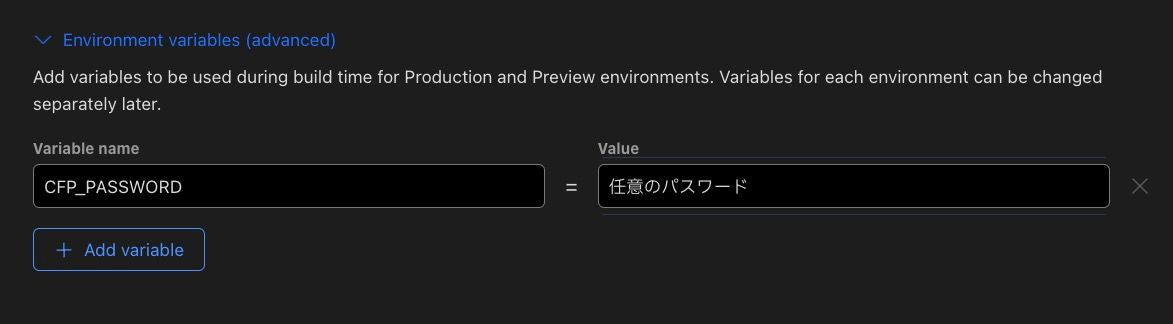
これでデプロイをする。
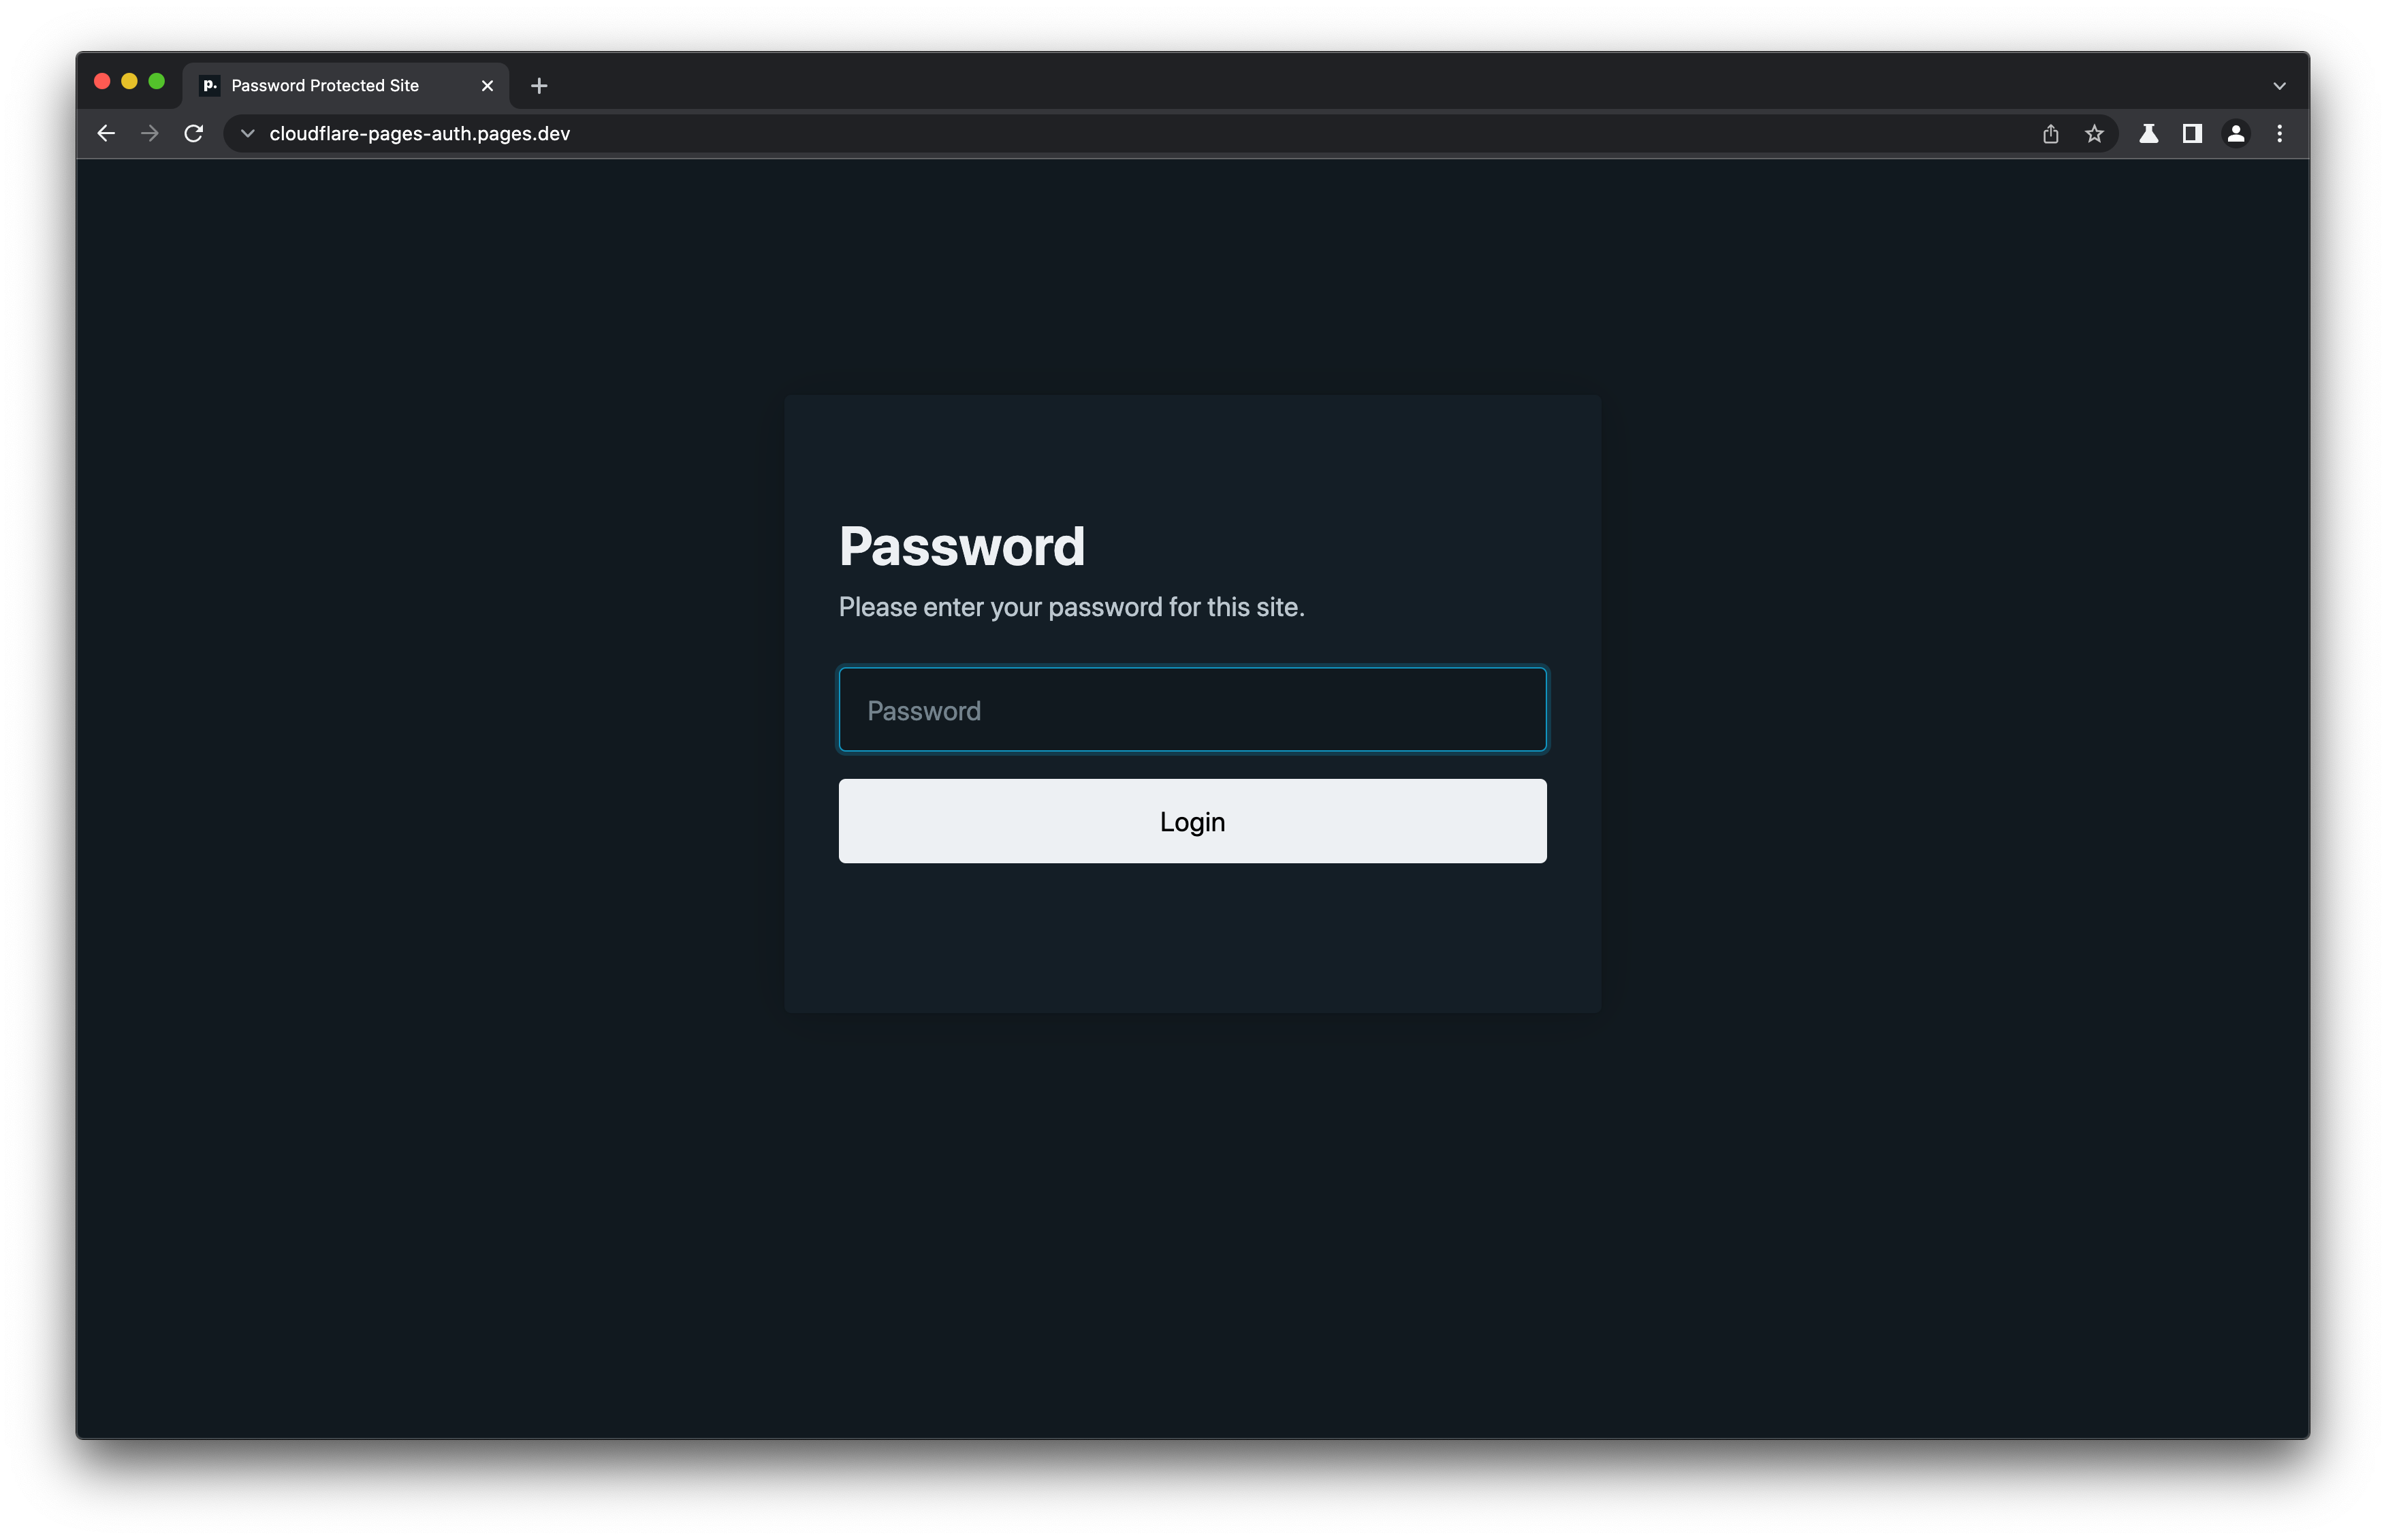
デプロイ後にアクセスすると、このような認証画面が表示される。
カスタマイズ
template.tsをいじることで、ログインページを日本語に変更可能です。
export function getTemplate({
  redirectPath,
  withError,
}: {
  redirectPath: string;
  withError: boolean;
}): string {
  return `
  <!doctype html>
  <html lang="ja" data-theme="dark">

    <head>
      <meta charset="utf-8">
      <meta name="viewport" content="width=device-width, initial-scale=1">
      <title>ユーザー認証</title>
      <meta name="description" content="This site is password protected.">
      <link rel="shortcut icon" href="https://picocss.com/favicon.ico">

      <link rel="stylesheet" href="https://unpkg.com/@picocss/pico@latest/css/pico.min.css">

      <style>
        body > main {
          display: flex;
          flex-direction: column;
          justify-content: center;
          min-height: calc(100vh - 7rem);
          padding: 1rem 0;
          max-width: 600px;
        }

        .error {
          background: white;
          border-radius: 10px;
          color: var(--del-color);
          padding: 0.5em 1em;
        }

        h2 { color: var(--color-h2); }
      </style>
    </head>

    <body>
      <main>
        <article>
          <hgroup>
            <h1>タイトル</h1>
            <h2>パスワードを入力してください</h2>
          </hgroup>
          ${withError ? `<p class="error">パスワードが間違っています</p>` : ""}
          <form method="post" action="/cfp_login">
            <input type="hidden" name="redirect" value="${redirectPath}" />
            <input type="password" name="password" placeholder="パスワード" aria-label="Password" autocomplete="current-password" required autofocus>
            <button type="submit" class="contrast">ログイン</button>
          </form>
        </article>
      </main>
    </body>

  </html>
  `;
}constants.tsを 編集することで認証を無視するパスを指定することもできます。
export const CFP_ALLOWED_PATHS = ["/cfp_login", "/ogp.png"];無効にしたい場合
functionsディレクトリを削除して再デプロイ
注意点
🔥
xxx.pages.dev のみ使えます。カスタムドメインではパスワード認証はできません。